How to Make Yogurt: A Comprehensive Guide
Contents
- 1 How to Make Yogurt: A Comprehensive Guide
- 2 Essential Ingredients for Yogurt Making
- 3 Heating the Milk: Step-by-Step Process
- 4 Fermentation: The Heart of Yogurt Making
- 5 Flavoring and Straining Yogurts for Perfection
- 6 Storage Tips for Homemade Yogurt
- 7 Health Benefits of Homemade Yogurts
- 8 Common Mistakes When Making Yogurts
- 9 Conclusion: Enjoy the Fruits of Your Labor
Yogurt offers a rich source of probiotics and nutrition. Making yogurts at home is a satisfying process. It can save money while offering a delicious treat. The ingredients are simple and accessible. This guide will explore methods, tips, and the benefits of homemade yogurt.
Creating yogurt at home is a rewarding and delicious experience that enhances your culinary skills while boosting your health. By making your own yogurt, you enjoy a tangy, creamy treat free from additives and preservatives found in many store-bought versions. Plus, it’s incredibly easy! With just a few simple ingredients and a little patience, you can transform milk into a probiotic-rich delicacy that benefits your gut health and adds a delightful touch to your meals and snacks.
The process is straightforward, requiring just milk and a yogurt starter, which can be store-bought yogurt or a specific yogurt culture. The beauty of this homemade approach lies in its flexibility; you can control the thickness, sweetness, and flavor of your yogurt according to your preferences. Whether you like it thick as Greek yogurt or light and creamy, the choice is yours.
As you embark on this kitchen adventure, take a moment to appreciate the science behind yogurt-making. The fermentation process, where friendly bacteria feast on the lactose in milk, not only thickens the mixture but also contributes to the distinct taste and numerous health benefits. Homemade yogurt is packed with protein, calcium, and essential vitamins, making it an ideal addition to breakfast bowls, smoothies, and desserts.

Essential Ingredients for Yogurt Making
Making yogurt requires only a few essential ingredients. First, high-quality milk serves as the base. Whole milk provides creaminess, while low-fat options offer a lighter texture. Next, select an active culture. This culture contains beneficial bacteria, essential for fermentation. Use store-bought yogurt or a yogurt starter for simplicity.
Additionally, consider flavoring options. Vanilla extract, honey, or fruit can enhance taste. These flavorings can be added during or after the fermentation process. Choose according to personal preference. Using organic and fresh ingredients improves the final product. Fresh ingredients contribute to a more vibrant flavor profile.
The selection of utensils and tools is equally important. Use a clean pot to heat the milk. A thermometer helps monitor the temperature accurately. It is essential to maintain the right temperature for fermentation. A whisk or spoon will assist with mixing the ingredients thoroughly. Lastly, consider using a yogurt maker or an insulated container for fermentation.
Keep everything sanitized to prevent unwanted bacteria. Effective sanitation ensures the best results. Preparing these ingredients and tools makes the process smoother. Gathering everything upfront eliminates the need for interruptions. This maintains the focus and efficiency of yogurt preparation. Each step paves the way for a successful yogurt-making experience.
Heating the Milk: Step-by-Step Process
Heating the milk is a critical step in yogurts preparation. Begin by pouring the milk into the selected pot. Heat the milk gently over low to medium heat. Stir occasionally to avoid sticking and scorching.
Monitor the milk temperature closely. Maintain a steady heat until the milk reaches 180°F (82°C). This process helps denature the proteins in the milk. Proper denaturation allows a smoother texture in the final yogurt.
Once the milk reaches the desired temperature, remove it from the heat. Let the milk cool down to around 110°F (43°C). This temperature is optimal for adding the yogurt starter culture. Use the thermometer to check the temperature accurately. It is crucial to avoid adding starter culture to hot milk. Hot milk can kill the beneficial bacteria, preventing yogurt formation.
After the milk cools, scoop some into a small bowl. Add the yogurt starter and whisk until combined. Ensure that the yogurt dissolves fully into the milk. Gradually return this mixture back into the pot of cooled milk. This technique ensures even distribution of bacteria in the milk.
Stir gently to incorporate the starter culture. Ensure that the mixture is homogeneous. Following these steps carefully leads to better yogurt consistency. The heating and cooling process lays the foundation for a successful fermentation.

Fermentation: The Heart of Yogurt Making
Fermentation transforms the milk mixture into yogurt. This step is where the magic happens. Choose an appropriate container for fermentation. A clean glass jar or an insulated container works best. Pour the milk and starter mixture into the chosen container.
Cover the container with a lid or a clean cloth. This coverage prevents contaminants while allowing warmth inside. Maintain a consistent temperature during fermentation. Ideal conditions range from 110°F to 115°F (43°C to 46°C).
There are multiple methods to achieve the right temperature. Utilize a yogurt maker for consistent results. Alternatively, place the container in a warm oven. Ensure the oven is turned off, with just the oven light on. Another option is to use a cooler filled with warm water.
Fermentation time varies based on desired consistency and flavor. Typically, yogurt ferments for 4 to 12 hours. Monitoring the time closely is advisable. Check the yogurt periodically to assess thickness and tanginess.
Once the yogurt reaches the preferred taste, it is ready for the next step. Transfer the container to the refrigerator. Chilling stops the fermentation process. Homemade yogurt can last up to two weeks in the fridge. Proper storage ensures freshness and enjoyment.
Flavoring and Straining Yogurts for Perfection
Flavoring and straining yogurts significantly alter its texture and taste. Once fermentation is complete, strain the yogurt if a thicker consistency is desired. Use a cheesecloth or fine mesh strainer for this purpose.
Set the strainer over a bowl and pour the yogurt into it. Let it drain for a few hours to achieve the desired thickness. The liquid that drains out is whey, which can be discarded or saved for other recipes.
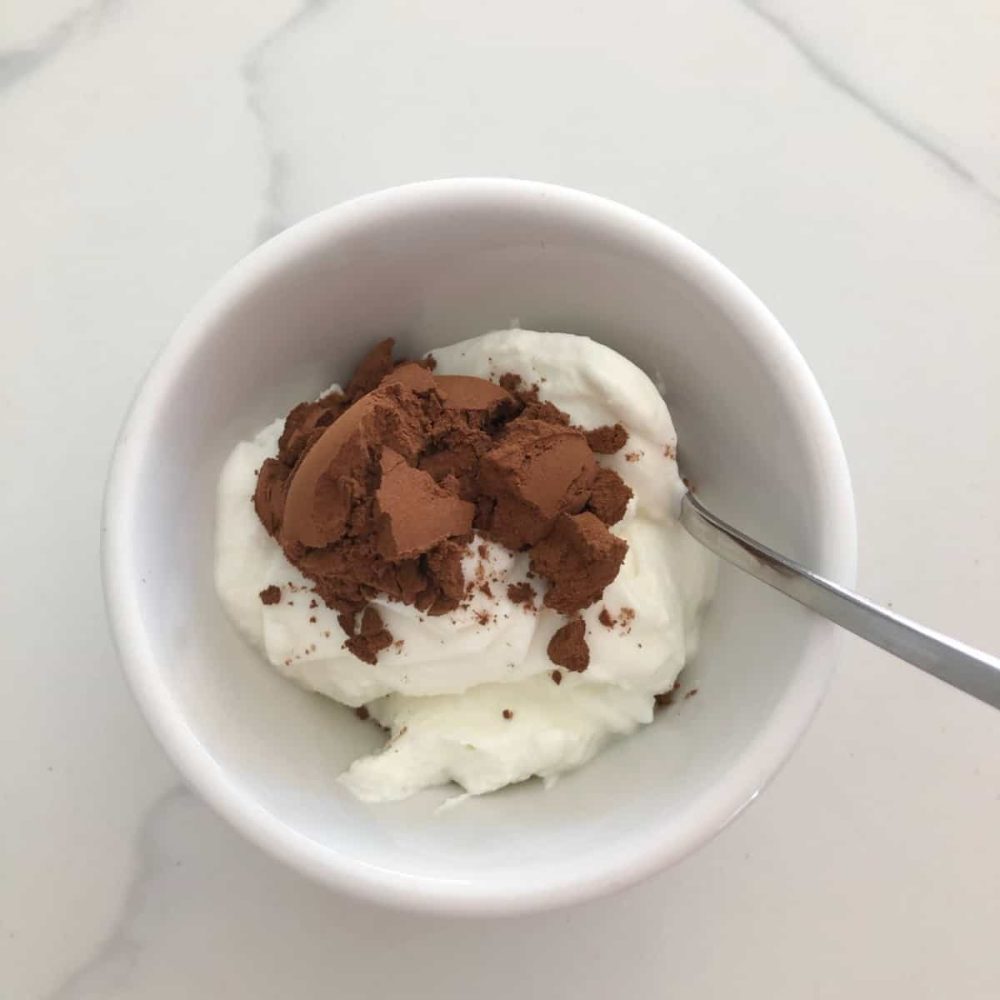
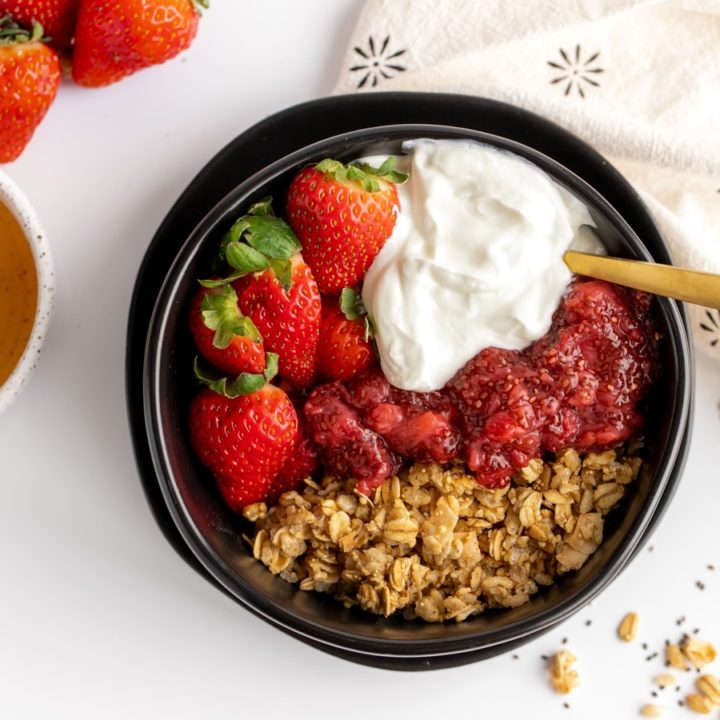
Next, consider adding flavor to the yogurt. Plain yogurt serves as a blank canvas. Sweeten with honey or maple syrup for a natural touch. Fruit purées can also add vibrancy and richness to the flavor.
Vanilla extract is another popular option for enhancing taste. Mix it thoroughly to ensure even distribution. Alternatively, consider adding spices like cinnamon or nutmeg for warmth. Flavor can boost the enjoyment of homemade yogurt.
The thickened yogurt can also be used in various recipes. Use it in smoothies, dressings, or desserts for versatility. Experimenting with ingredients transforms simple yogurt into a culinary delight. Ultimately, this step allows for individual creativity and dietary preferences.

Storage Tips for Homemade Yogurt
Storing homemade yogurts properly ensures its freshness and longevity. After cooling, transfer yogurt into airtight containers. Choose glass jars for better preservation of flavor and texture. Store the containers in the refrigerator promptly.
Label each container with the date made. This simple act helps track freshness. Homemade yogurt typically lasts one to two weeks when stored correctly. Consuming yogurt within that timeframe guarantees optimal taste.
Avoid leaving yogurts at room temperature for extended periods. Prolonged exposure can lead to spoilage. Monitor the yogurts for any unpleasant odors or unusual textures. These can signal spoilage, indicating the yogurt should not be consumed.
Consider freezing yogurts for longer storage. While freezing affects the texture, it remains safe to eat. Use freezer-safe containers to prevent freezer burn. When ready to use, thaw yogurt in the refrigerator.
Repurpose leftover yogurts in smoothies, dips, or marinades to avoid waste. Homemade yogurts adapts well to various culinary applications. Explore recipes that incorporate yogurts effectively. This versatility enhances meal preparations and promotes creativity.
Health Benefits of Homemade Yogurts
Homemade yogurts boasts numerous health benefits. First, it serves as a probiotic powerhouse. Probiotics support gut health and improve digestion. Regular consumption may aid in maintaining a balanced microbiome.
Additionally, yogurts is rich in nutrients. Paradoxically, while being low in calories, it offers protein, calcium, and vitamins. This nutrient density makes yogurts a satisfying snack or meal component.
Compared to store-bought options, homemade yogurt is free from additives. It avoids preservatives and artificial flavors commonly found in commercial products. This purity ensures a wholesome experience with every spoonful.
Moreover, making yogurts at home allows for control over ingredients. Adjust sweetness according to personal preferences. Choose organic and high-quality milk for added benefits. This control is especially valuable for those with dietary restrictions.
Lastly, homemade yogurts promotes mindful eating. The process of making yogurts fosters appreciation for food. Engaging in preparation can lead to healthier eating habits. Ultimately, enjoying homemade yogurt encourages overall well-being and health.
Common Mistakes When Making Yogurts
Avoiding common pitfalls will enhance the yogurts-making experience. One frequent mistake is using milk that is too hot or too cold. Temperature accuracy is crucial for successful fermentation.
Another mistake is insufficient mixing of the starter culture. Ensure that the yogurts is well incorporated into the milk. Uneven distribution can hinder the fermentation process.
Using expired yogurts as a starter culture is also detrimental. Always check the expiration date and ensure that it contains live cultures. Fresh starters yield better results and flavor.
Fermentation time is another area of concern. Not allowing enough time can result in thin yogurt. Conversely, excessive fermentation can lead to overly tart yogurts.Monitoring the fermentation helps achieve the desired flavor and texture.
Finally, neglecting sanitation may introduce unwanted bacteria. Clean all utensils and surfaces to prevent contamination. Adopting careful practices ensures a successful fermentation process. Avoiding these mistakes leads to a higher quality, homemade yogurts experience.

Conclusion: Enjoy the Fruits of Your Labor
Making yogurts at home can be an enriching journey. The process engages the senses while providing delicious and nutritious food. With just a few ingredients, anyone can create homemade yogurts.
After understanding the steps involved, it’s simple to replicate this process. Achieving the right temperature is key to successful yogurts. Variation with flavorings and textures opens endless possibilities.
Each batch of yogurts offers numerous health benefits. Homemade yogurts enhances meals while supporting well-being. The satisfaction of consuming homemade food is unparalleled.
Through practice, yogurts-making becomes an enjoyable routine. Sharing with friends and family enhances the experience further. Ultimately, homemade yogurts inspires culinary creativity and healthy habits.
Explore different recipes and flavors to find personal favorites. The journey of yogurts-making is both fun and fulfilling. Celebrate the delicious results of this delightful process. Enjoy every creamy, tangy bite of homemade yogurts.
